
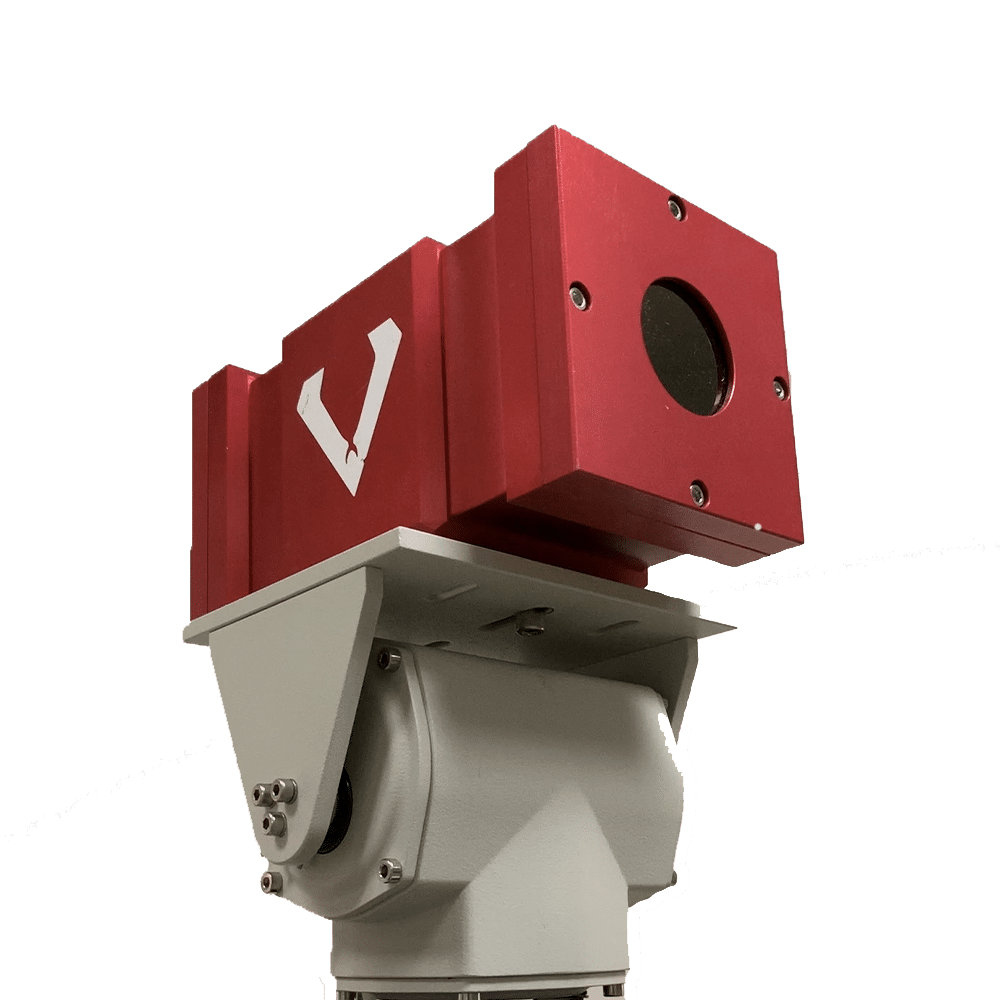
Quick Setup Instructions
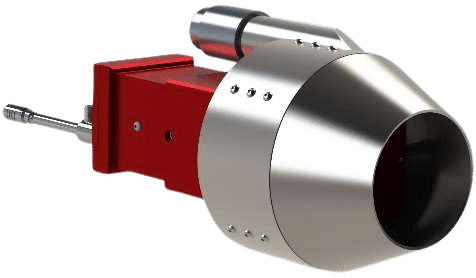
Helpful hint: During setup, place your ViperVenom enclosure window-end-down on a clean surface to prevent scratches.
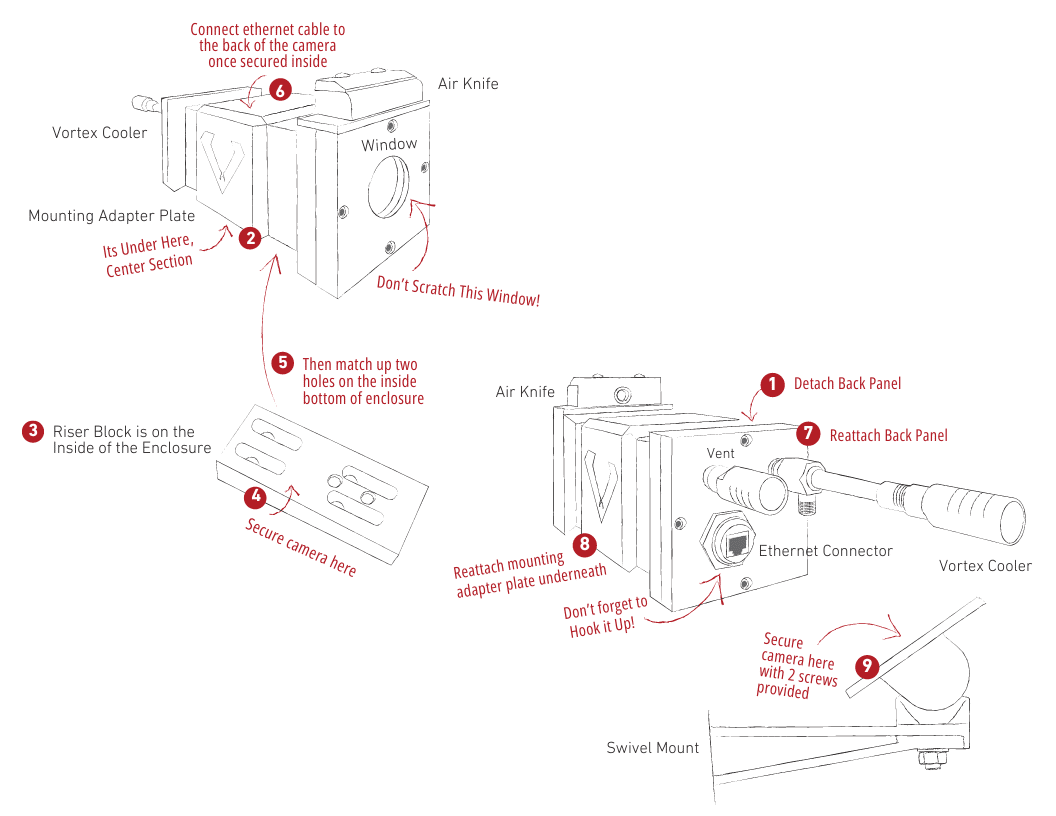
1. Ensure that the camera’s serial number matches the serial number on top of the enclosure. Skip this step if the enclosure has no serial number.
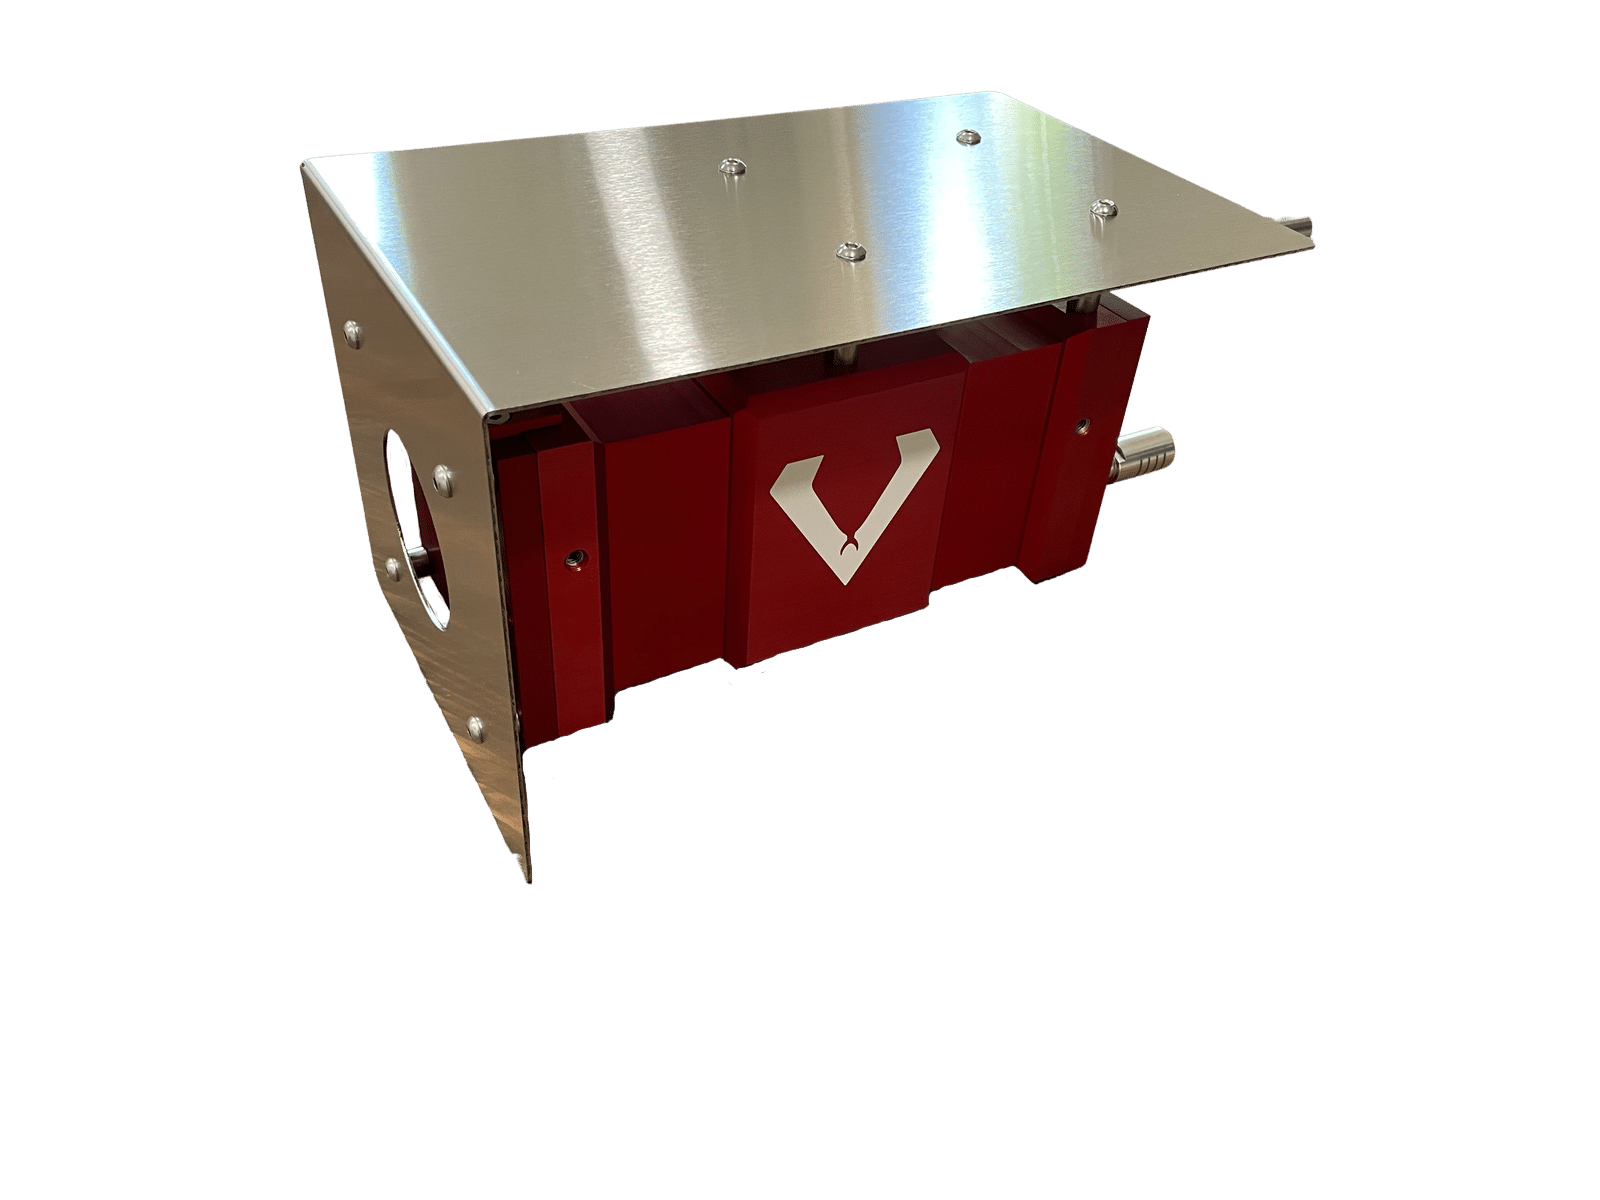
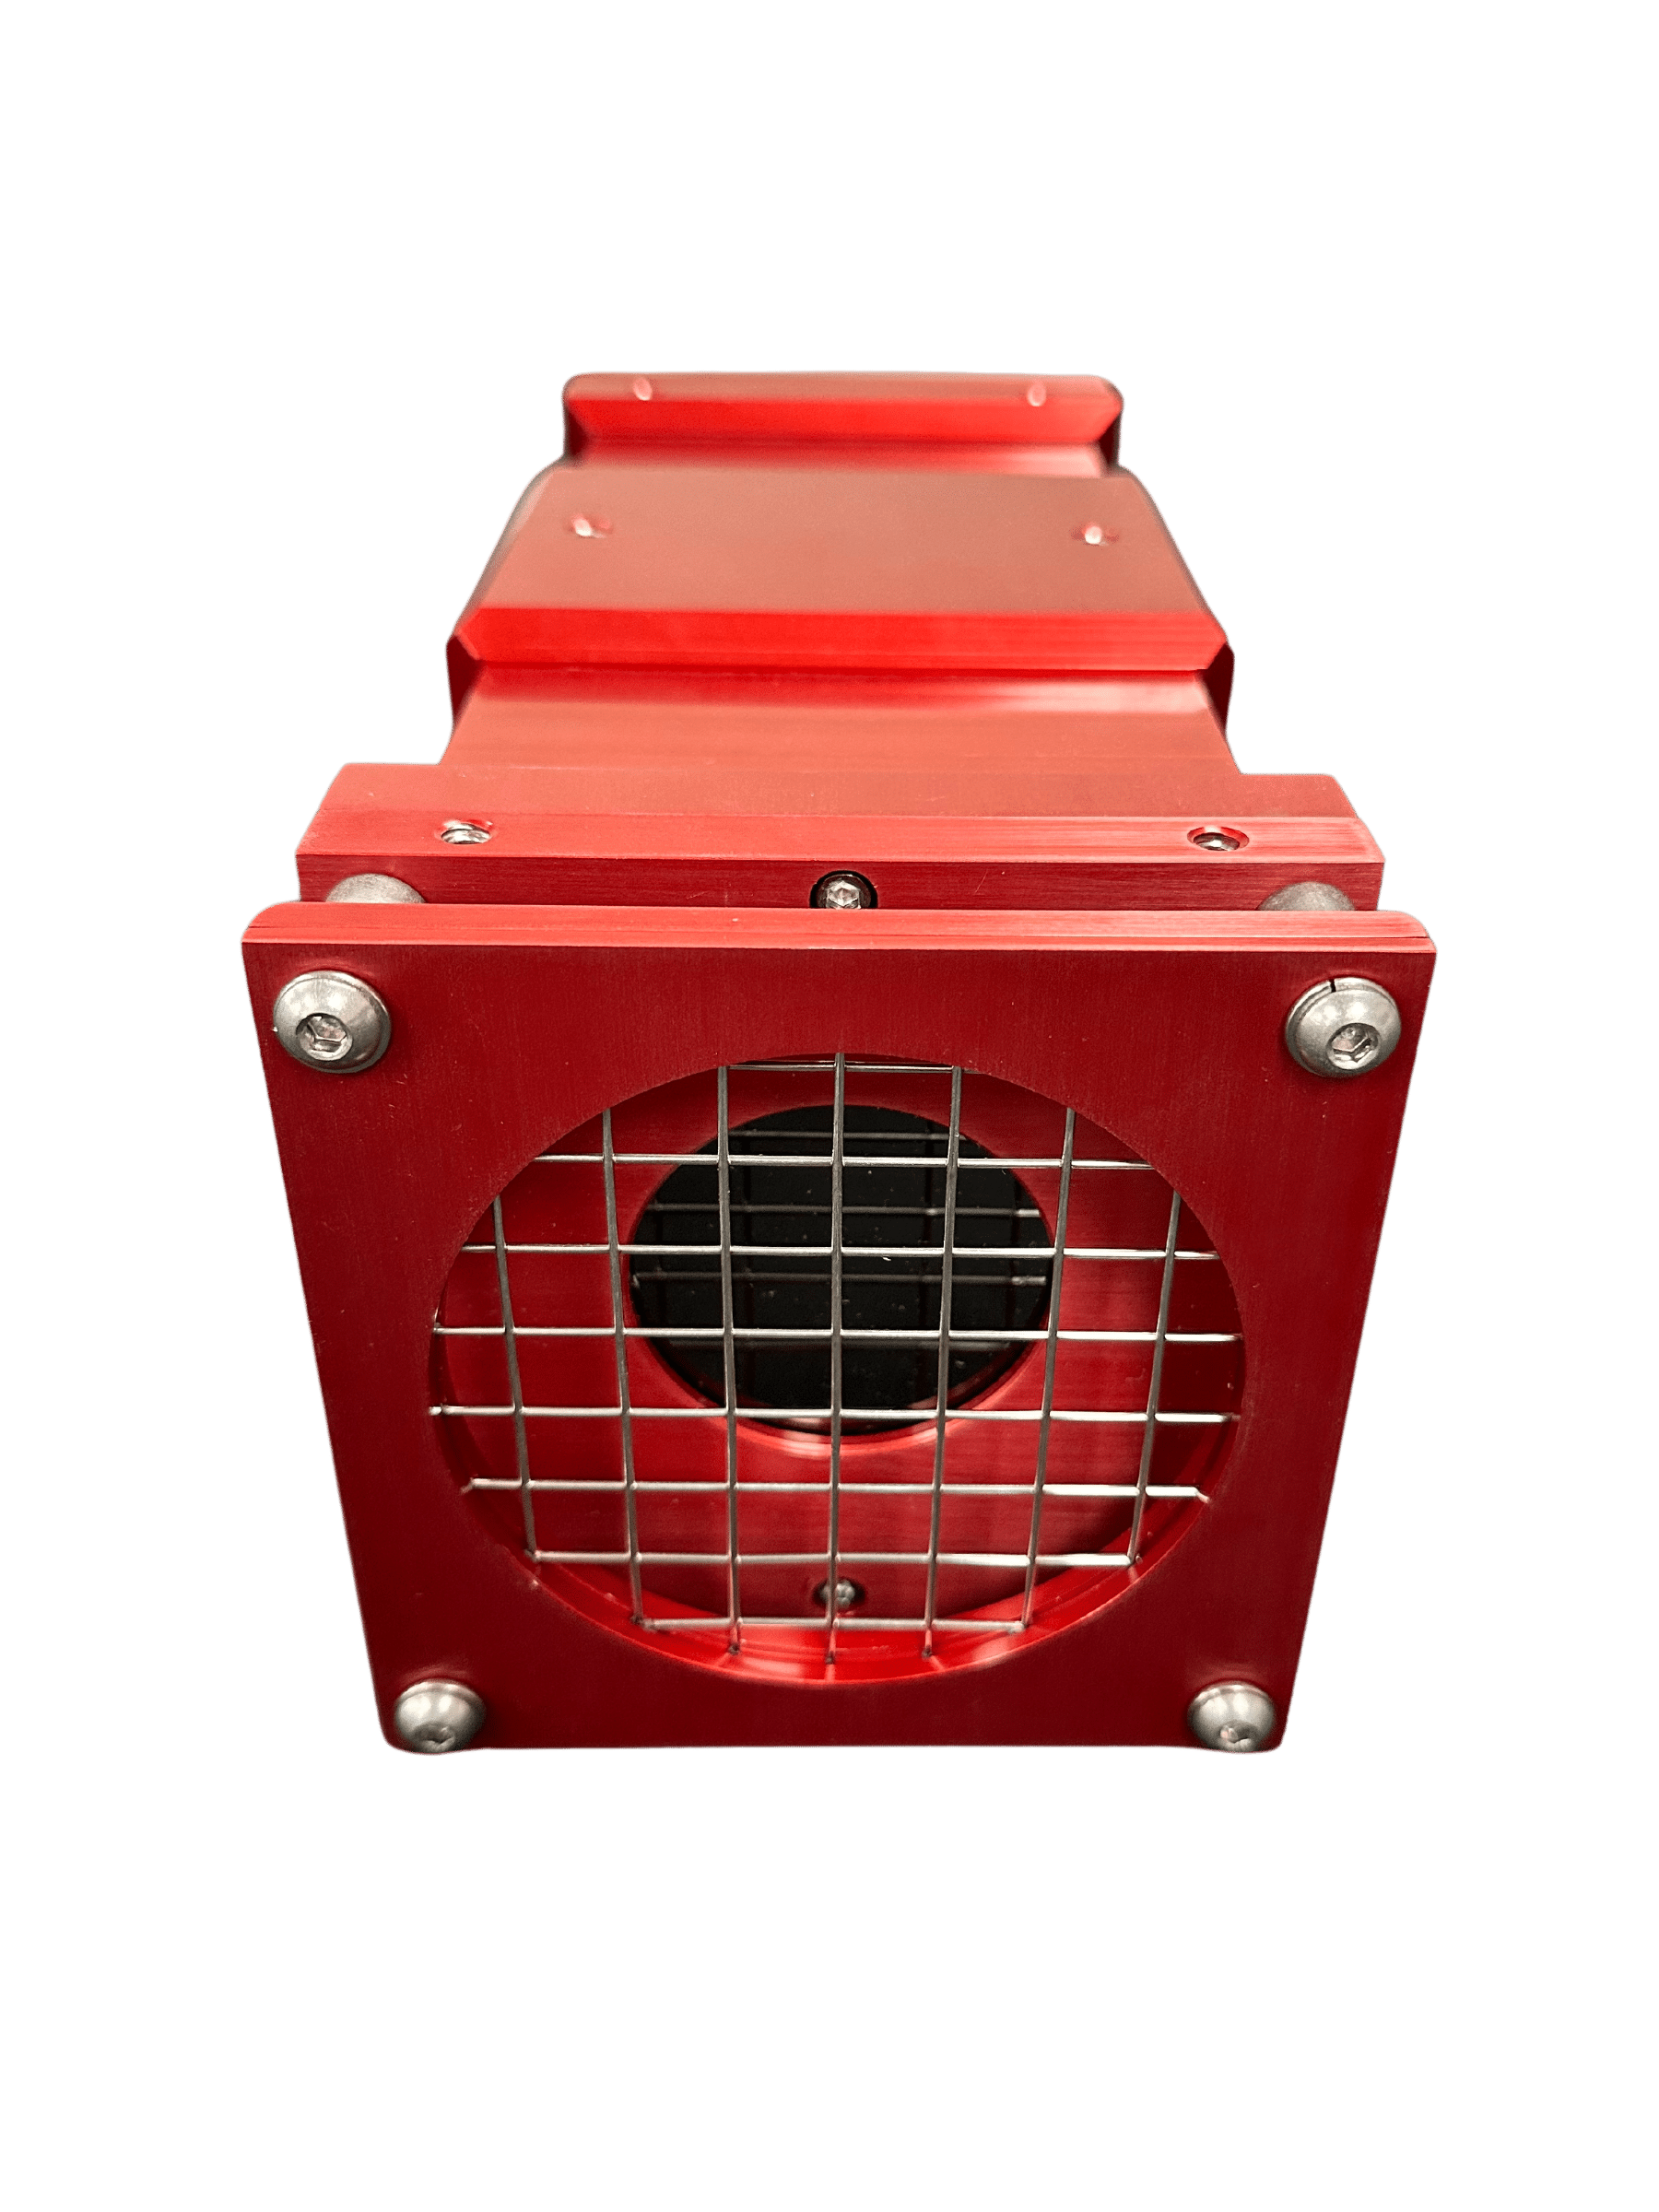
2. Start with the end opposite the window of the ViperVenom enclosure. Use an Allen wrench to remove the four (4) screws and detach the back panel.
*Note: riser block inside which will be used to secure camera in step #4
3. Remove mounting adapter plate from bottom center of ViperVenom. Set aside for use with the swivel mount bracket (in step #8).
4. Unscrew the two (2) screws holding riser block in place. Carefully remove riser block. Once removed, you’ll see four (4) provided screws for camera connection.
5. Remove lens cap from camera, and secure riser block to camera with the four (4) screws. Secure it so the lens is just past the front edge of the riser block.
*Note: Camera lens should be as close as possible to the window without touching it.
6. With camera lens facing the window, match up two holes of enclosure bottom to the two holes in riser block, and secure camera inside the enclosure with the two (2) screws removed previously in step 3.
7. Connect ethernet cable from ViperVenom back panel to the camera.
8. Replace back panel on enclosure (as shown), securing with the four (4) screws removed in step 1.
9. Reattach mounting adapter plate to allow for connection to the swivel mount bracket.
10. Use two (2) provided screws to attach to swivel mount. Note that the swivel mount has adjustable tension in the base. Tighten once in place.
Installing ViperVision
Brief setup provided here. Please refer to ViperVision Configuration Guide for more information. (If you have ViperVision installed on your computer, the path to find the Configuration Guide) is C:\Program Files\Viper Imaging\ViperVision
- Download installer.
- Begin installation of ViperVisionInstaller file. Either double-click the file or right-click and select “Run as Administrator.”
- Review and agree to Terms and Conditions.
- The first time ViperVision is executed, Camera Discovery begins automatically and will find all compatible cameras on the network.

Predator System Additional Options
- Predator Controller Box – provides full control for up to six (6) cameras (Cat6/Cat5e, single mode, and multimode fiber)
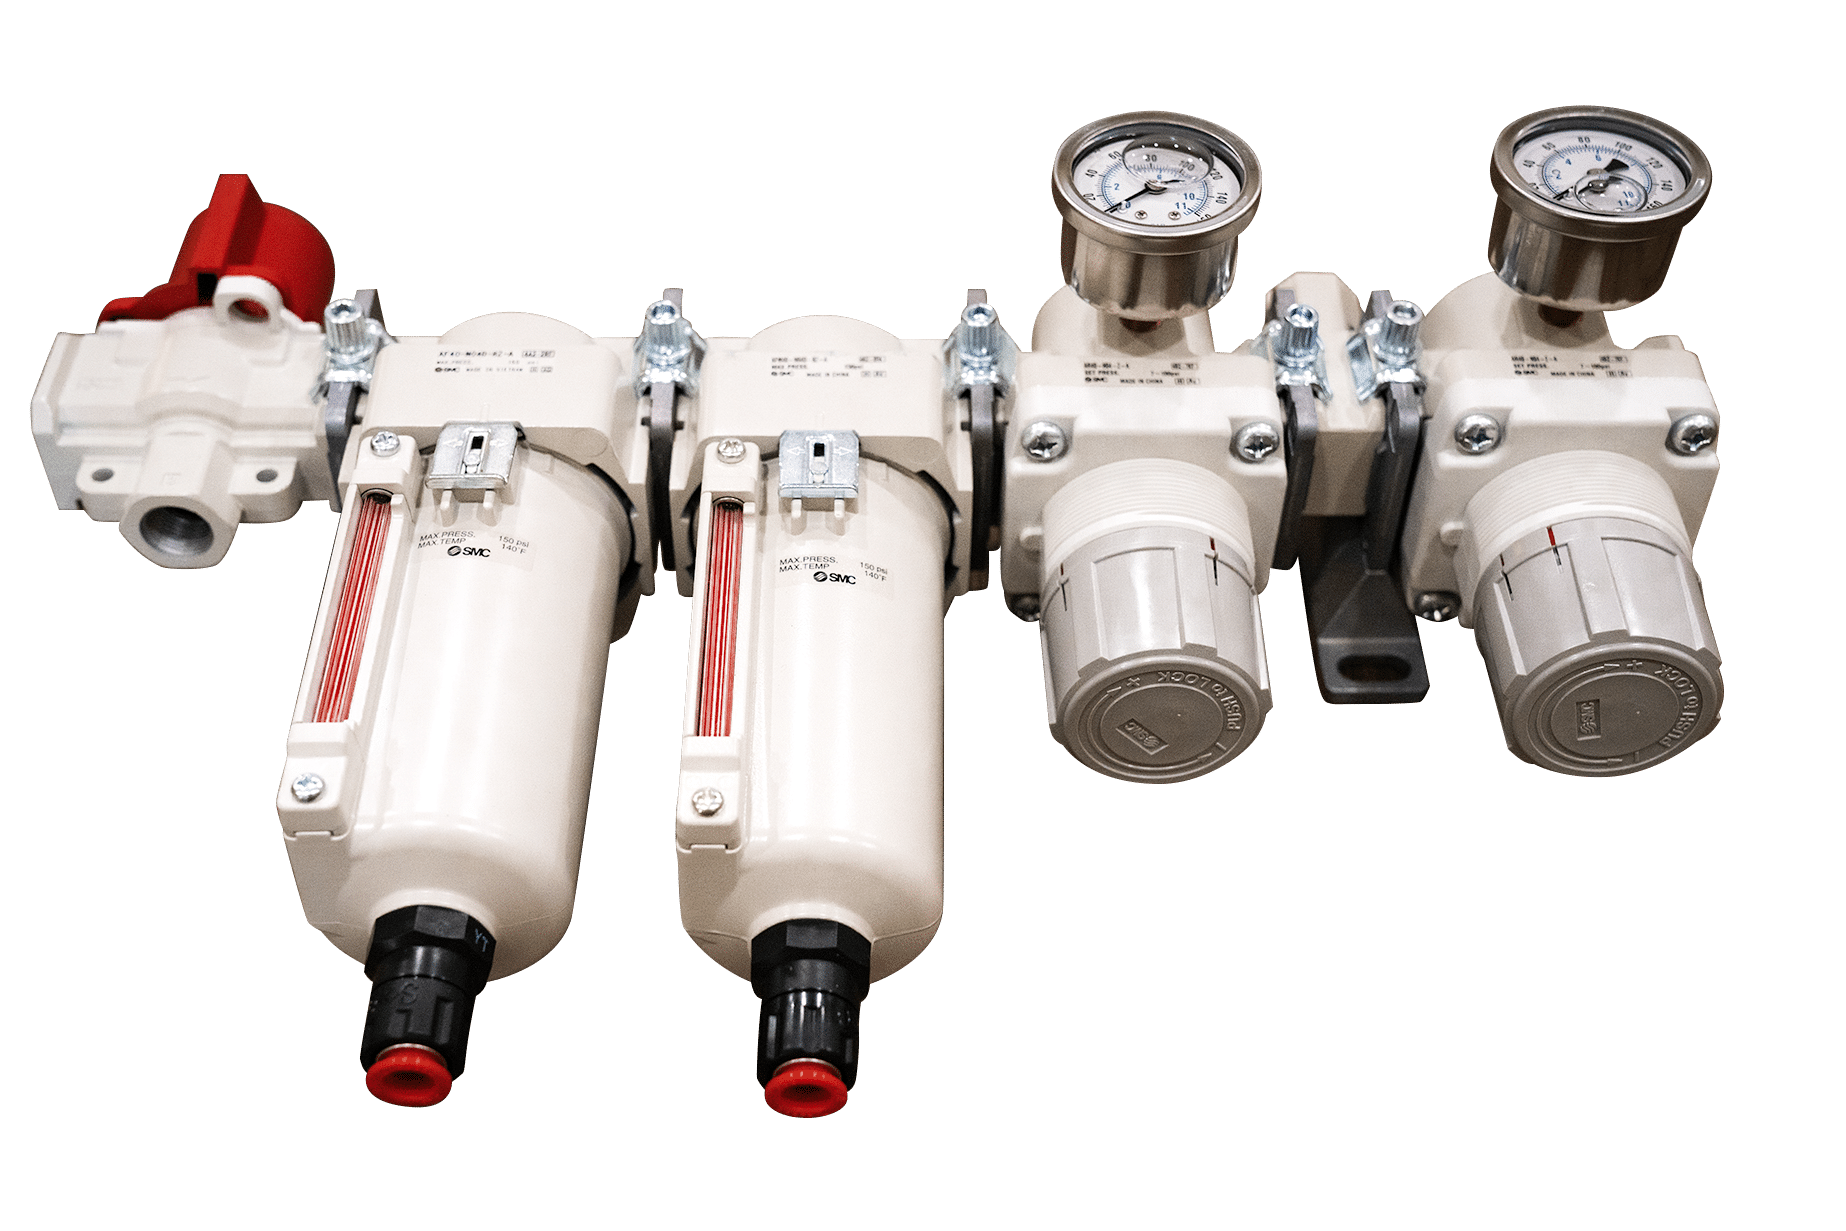
- Air Kit – set of hoses and regulators to provide a single airline connection to the system and control the flow to each component
- Services / Quick-Start – (site visit with 4-hour training and start-up assistance); Annual contract (yearly site visit with calibration check and software update)
- Pan / Tilt
- Radiation Shield
- Visual Camera
- Upgrade to ViperVision Ultra and/or perpetual software license
- Air Intensifier
- Window Protection Grid
- Extended Warranty (add 1 year for a complete 2-year warranty)
Coming Soon!
If you have a question about a specific part or need to order a replacement part, please send a photo of the part/s to: contact@viperimaging.com