
Installing ViperVision
Brief setup provided here. Please refer to ViperVision Configuration Guide for more information. (If you have ViperVision installed on your computer, the path to find the Configuration Guide) is C:Program FilesViper ImagingViperVision
- Download installer.
- Begin installation of ViperVisionInstaller file. Either double-click the file or right-click and select “Run as Administrator.”
- Review and agree to Terms and Conditions.
- The first time ViperVision is executed, Camera Discovery begins automatically and will find all compatible cameras on the network.

Predator System Additional Options
- Predator Controller Box – provides full control for up to six (6) cameras (Cat6/Cat5e, single mode, and multimode fiber)
- Air Kit – set of hoses and regulators to provide a single airline connection to the system and control the flow to each component
- Services / Quick-Start – (site visit with 4-hour training and start-up assistance); Annual contract (yearly site visit with calibration check and software update)
- Pan / Tilt
- Radiation Shield
- Visual Camera
- Upgrade to ViperVision Ultra and/or perpetual software license
- Air Intensifier
- Window Protection Grid
- Extended Warranty (add 1 year for a complete 2-year warranty)
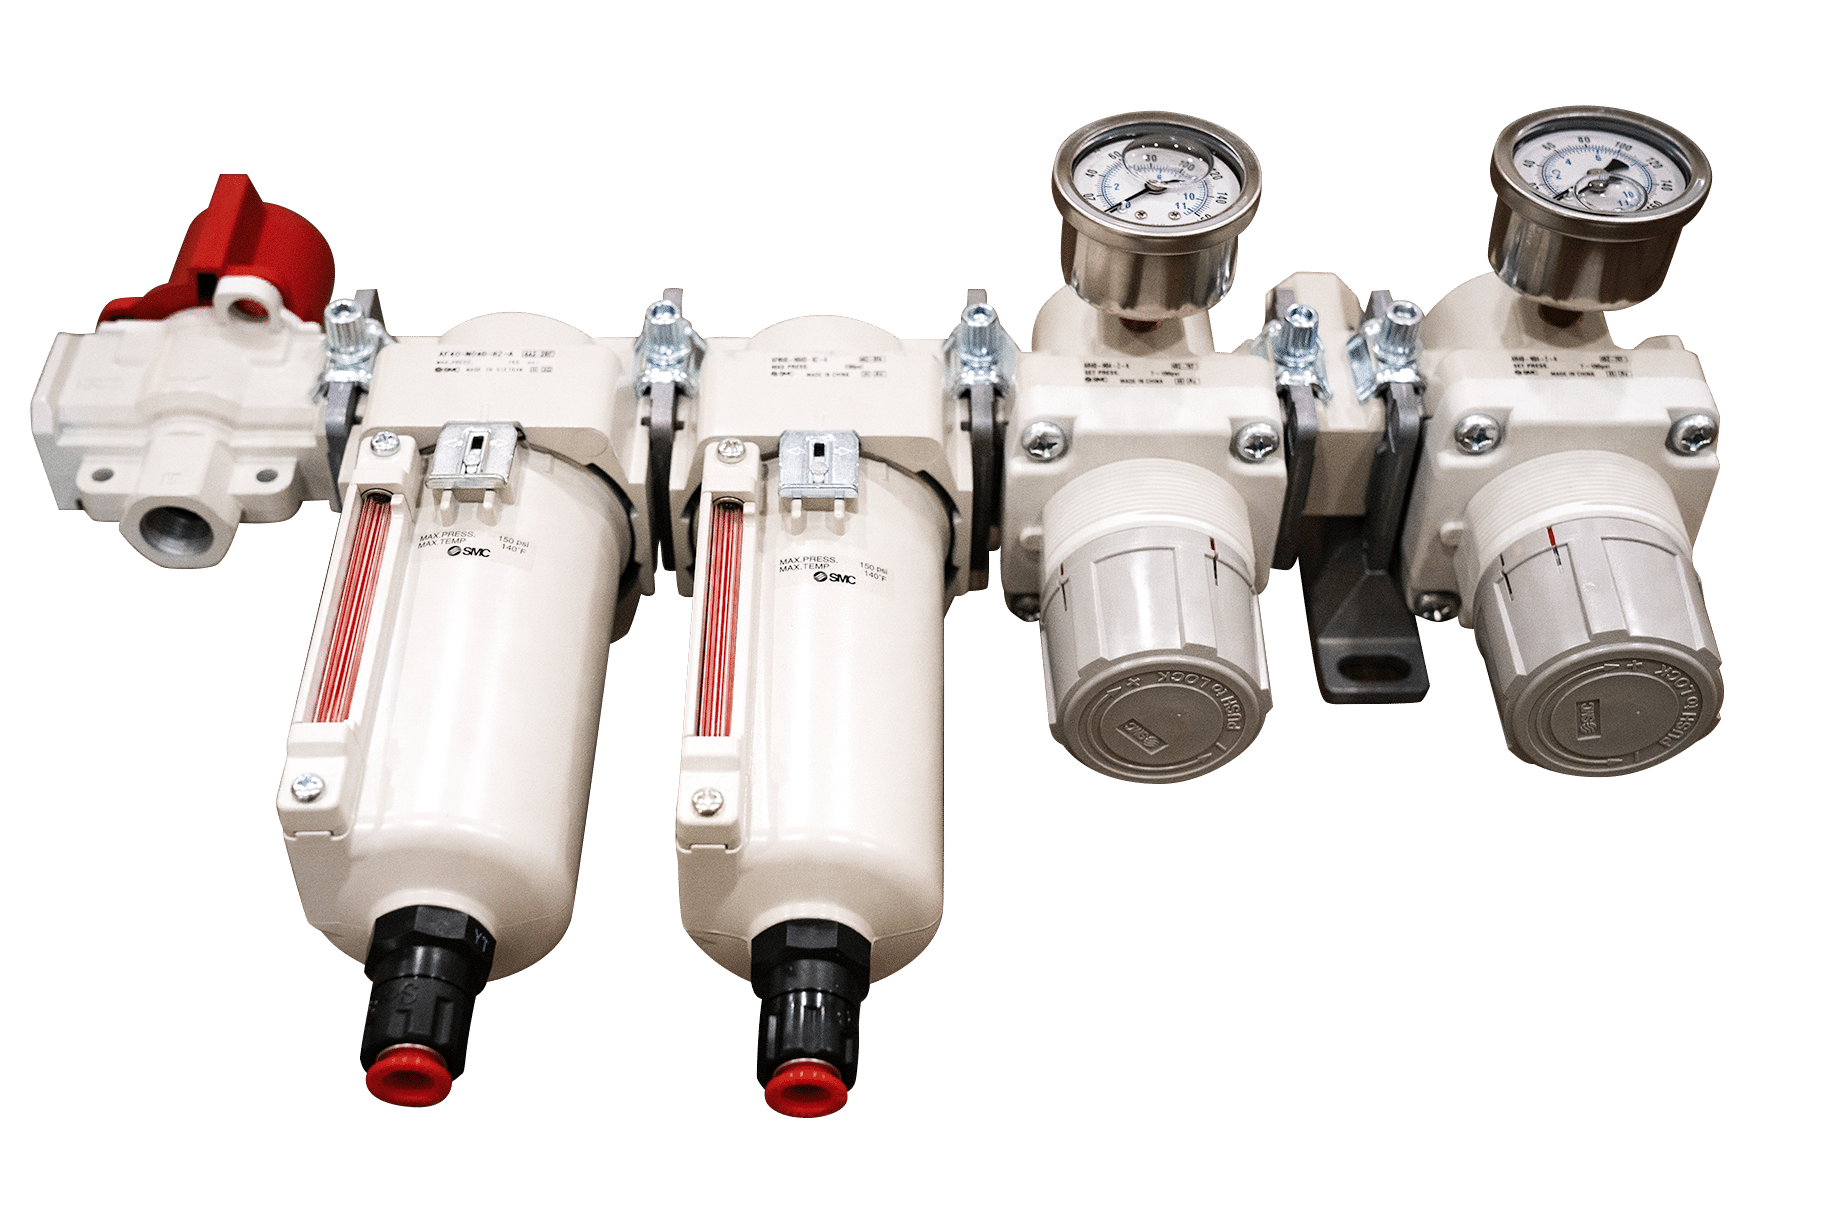
Air Kit
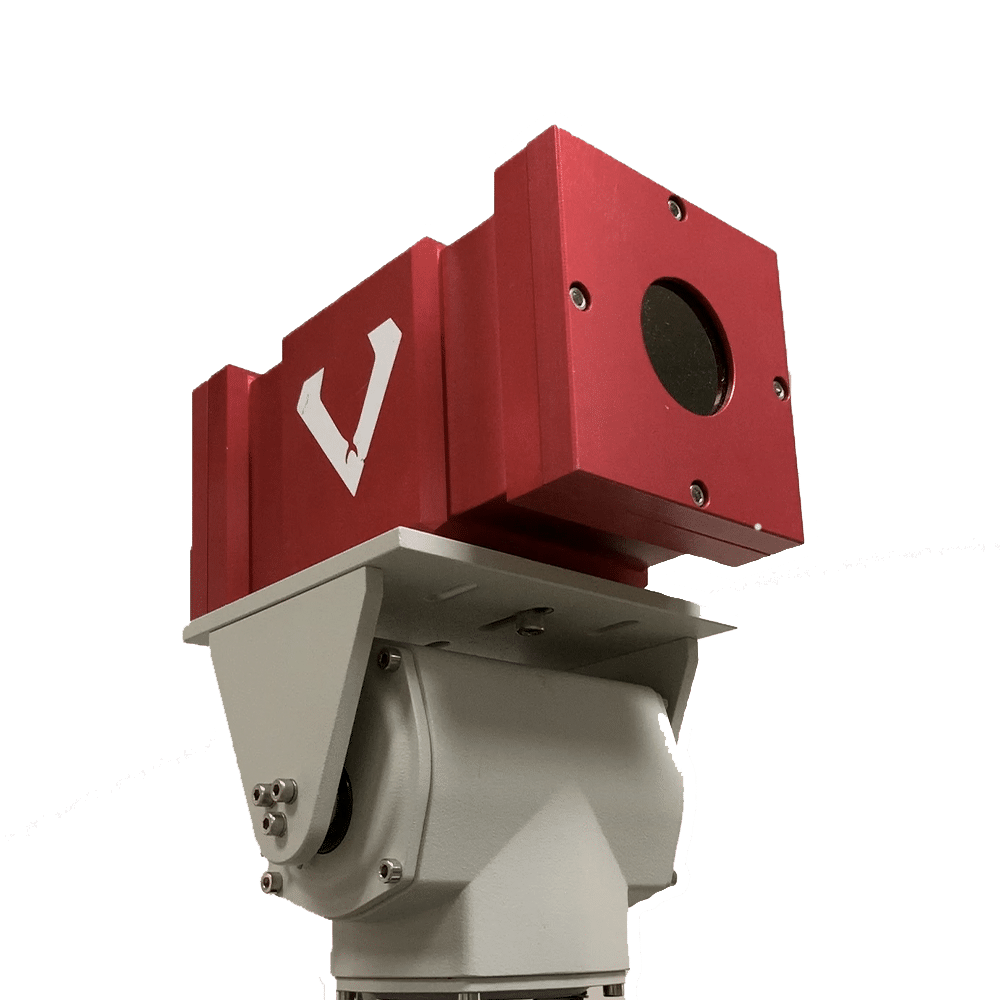
Pan Tilt
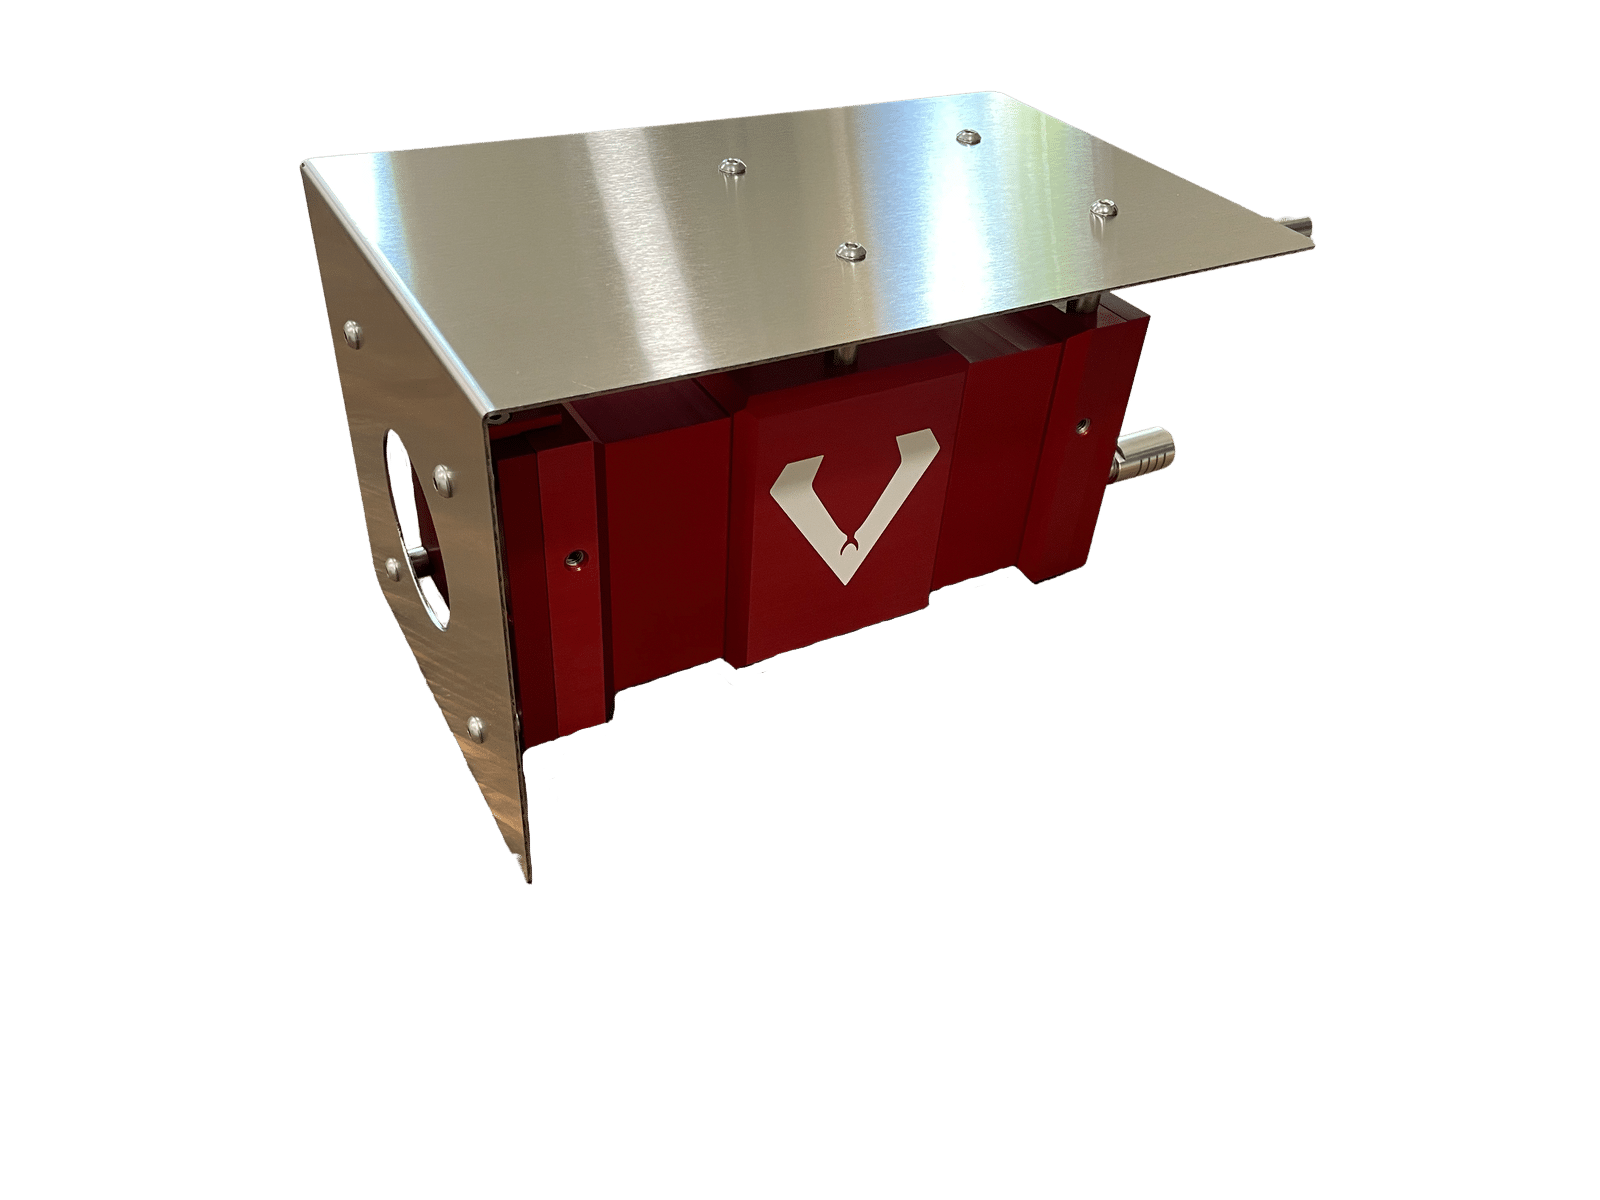
Heat Shield
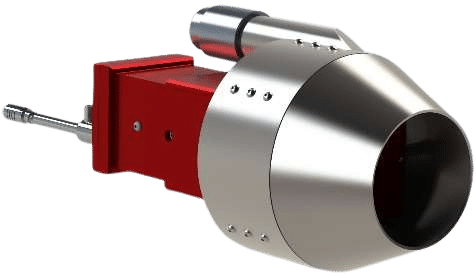
Air intensifier

Window Protection Grid
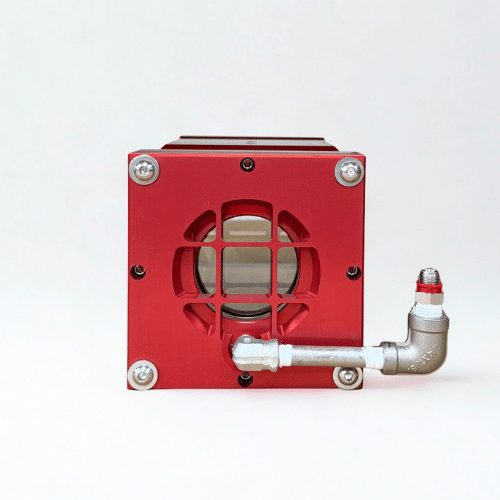
ViperVenom Enclosure with Window Protection Grid and Air Knife
- Air knife kit – full or fitting only
- Filters for air kit
- Guages
- Hardware kit – screws
- Mufflers
- Plugs for uncooled enclosures
- RJ45 connector kit
- Vortex cooler
- Window kit (germanium, ZnS, borosilicate) – includes O-ring, retaining ring, and installation tool
If you have a question about a specific part or need to order a replacement part, please send a photo of the part/s to: contact@viperimaging.com
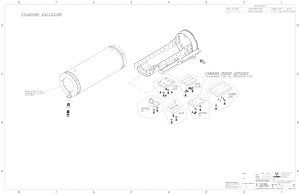
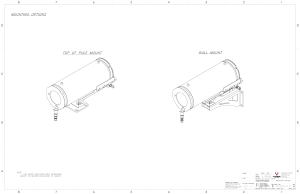
Click the thumbnail images at the bottom to navigate to additional drawings showing system options.
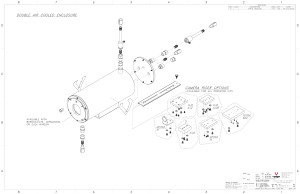
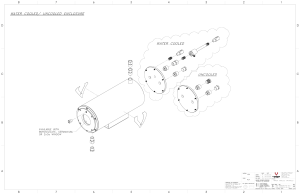
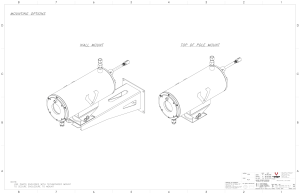
Click the thumbnail images at the bottom to navigate to additional drawings showing system options.